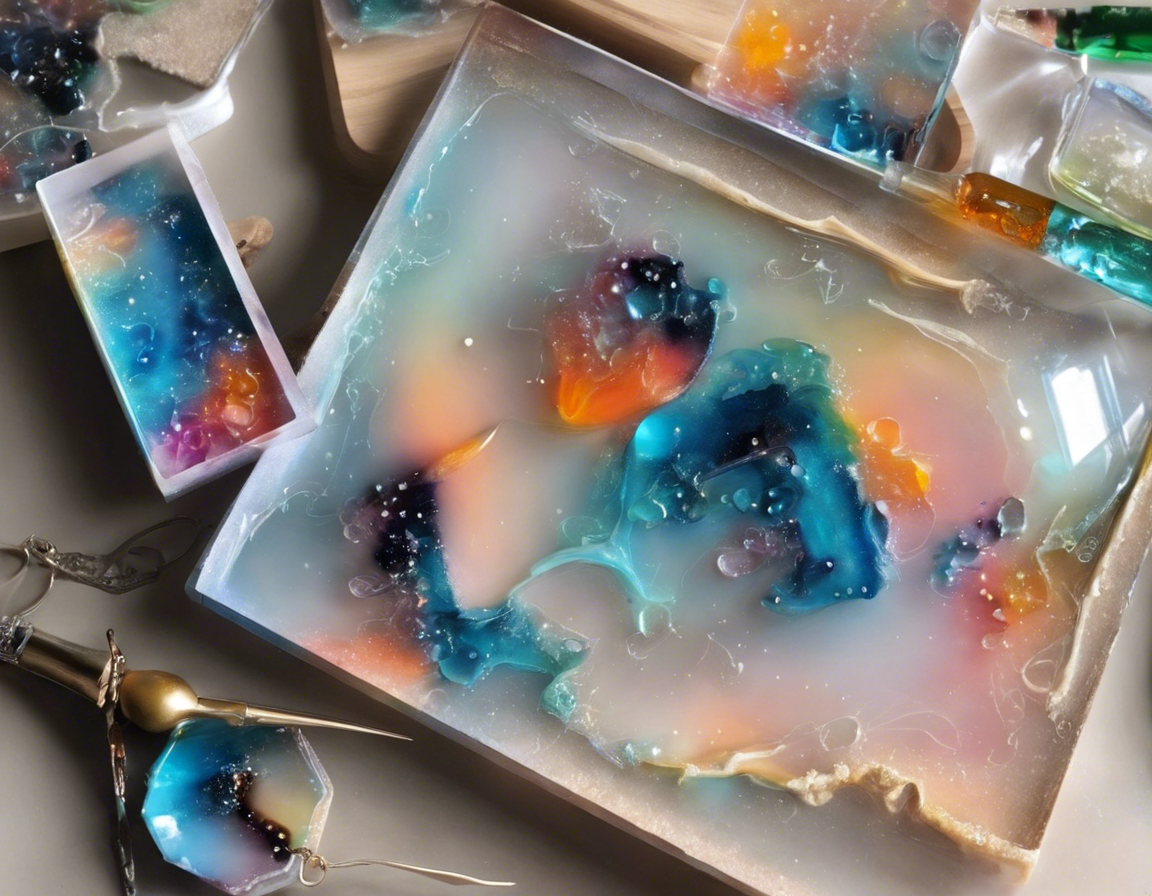
As an artist or hobbyist looking to explore a unique and versatile medium, resin art offers a dynamic and visually stunning avenue for creative expression. Whether you are a beginner or an experienced artist, working with resin can be a rewarding and exciting experience. This guide will provide you with a comprehensive overview of resin art, including its characteristics, techniques, supplies needed, safety precautions, and tips for creating your own resin masterpieces.
What is Resin Art?
Resin art involves using epoxy resin as a medium to create artwork. Epoxy resin is a two-part compound consisting of resin and hardener. When these two components are mixed together, a chemical reaction occurs, resulting in a hard, glossy finish. Resin art can encompass a wide range of styles, including geode resin art, resin petri dishes, resin jewelry, resin coasters, and resin paintings.
Benefits of Resin Art
- Versatile: Resin art can be used to create a variety of projects, from jewelry to large-scale paintings.
- Glossy Finish: Resin dries to a clear, glossy finish that enhances the vibrancy of colors and adds depth to artwork.
- Durable: Once cured, resin is durable and resistant to moisture, making it suitable for a variety of applications.
- 3D Effects: Resin can be layered to create stunning 3D effects and depth in artwork.
Supplies Needed for Resin Art
Before you begin creating resin art, you will need to gather the necessary supplies:
– Epoxy Resin: Choose a high-quality epoxy resin that is suitable for art projects.
– Hardener: The hardener is the second component of the resin mixture.
– Pigments: Use resin pigments or alcohol inks to add color to your artwork.
– Mixing Cups and Stirring Sticks: These are essential for measuring and mixing resin.
– Molds: Depending on your project, you may need molds to shape the resin.
– Heat Gun or Torch: These tools help to remove air bubbles from the resin.
– Protective Gear: Wear gloves, a mask, and protective eyewear to ensure safety.
Techniques for Resin Art
- Layering: Create depth and dimension in your artwork by layering different colors of resin.
- Swirling: Use a stirring stick or toothpick to swirl colors together for a marbled effect.
- Adding Inclusions: Embed materials like glitter, dried flowers, or beads in the resin for texture.
- Resin Petri Technique: Create intricate patterns by dropping resin mixed with pigments onto a surface.
- Geode Art: Mimic the look of geodes by layering different colors of resin in organic shapes.
Safety Precautions
When working with resin, it is important to prioritize safety:
– Ventilation: Work in a well-ventilated area or use a respirator to avoid inhaling fumes.
– Protective Gear: Wear gloves, a mask, and protective eyewear to prevent skin contact and inhalation.
– Clean-Up: Use isopropyl alcohol to clean up resin spills and drips.
– Follow Instructions: Read and follow the manufacturer’s instructions for the resin product you are using.
Tips for Creating Stunning Resin Art
- Practice Patience: Allow each layer of resin to cure fully before adding the next layer.
- Experiment: Try different techniques and color combinations to discover your unique style.
- Use a Level Surface: Ensure your work surface is level to prevent the resin from pooling to one side.
- Plan Ahead: Have a clear vision of your artwork before starting to prevent mistakes.
- Embrace Imperfections: Resin art can be unpredictable, so embrace any unexpected results as part of the creative process.
Frequently Asked Questions (FAQs)
- How long does resin take to cure?
-
The curing time for resin varies depending on the brand and type of resin used. On average, most resins take 24-72 hours to fully cure.
-
Can you mix different brands of resin?
-
It is recommended to stick to one brand of resin for a project to ensure compatibility. Mixing different brands may result in curing issues.
-
How do you prevent air bubbles in resin?
-
To prevent air bubbles, mix the resin slowly, use a heat gun or torch to remove bubbles, and work in a warm environment to allow bubbles to rise to the surface.
-
Can resin art be displayed outdoors?
-
While resin is resistant to moisture, prolonged exposure to sunlight can cause yellowing and degradation. It is best to display resin art indoors or in a shaded area.
-
How do you create cells in resin art?
- To create cells in resin art, use a heat gun or torch to briefly heat the surface of the resin after pouring. This technique helps to create organic patterns and cells.
In conclusion, resin art offers endless creative possibilities for artists and enthusiasts alike. By understanding the basics of resin art, exploring various techniques, and practicing safety precautions, you can embark on a vibrant and captivating artistic journey. Experiment, unleash your imagination, and let resin art elevate your creativity to new heights.
